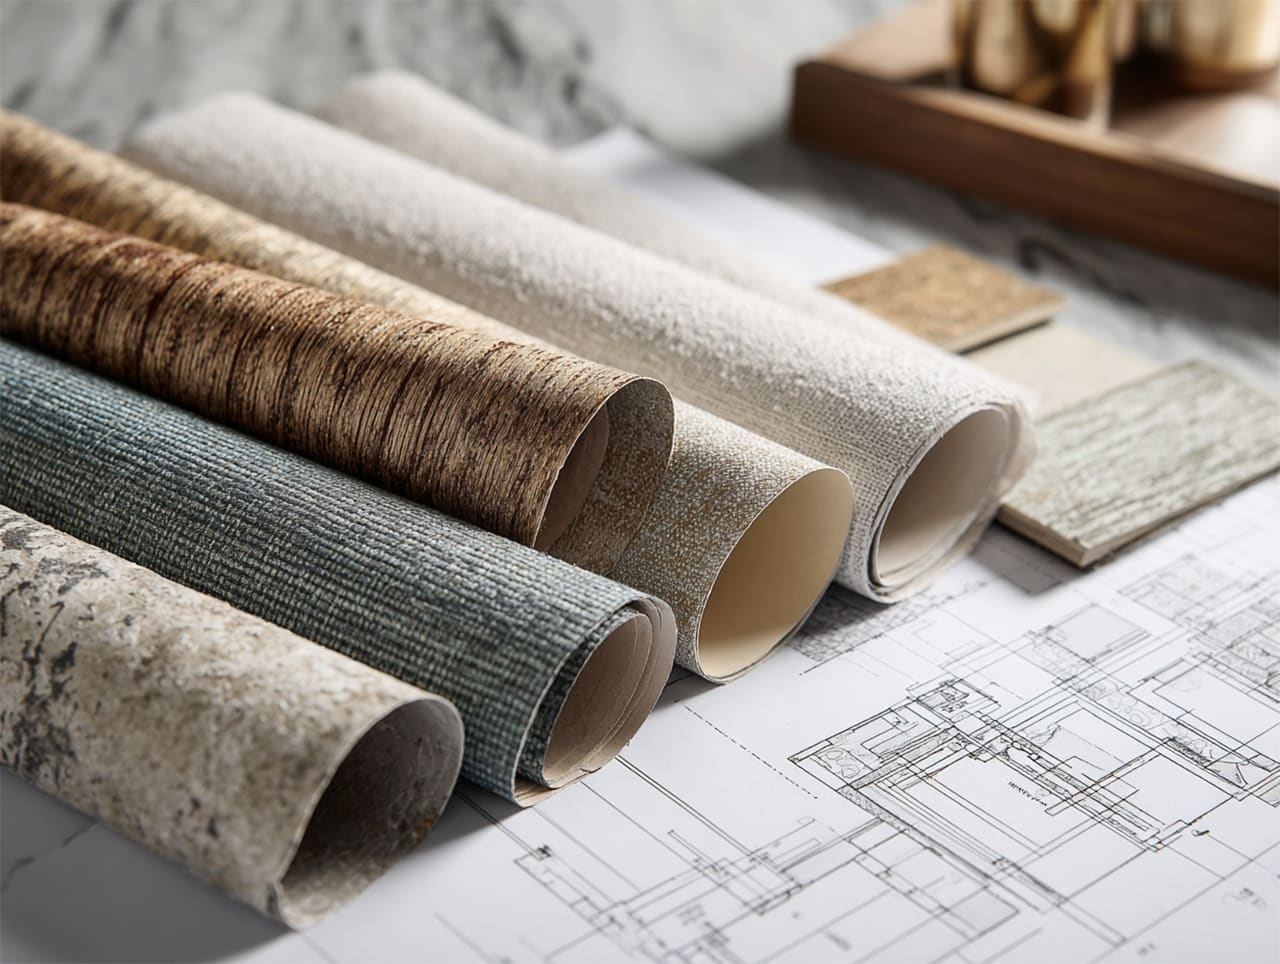
Commercial Large Format Printing for
Multi-Family Properties & Residential Buildings
Type II Wallpapers engineered for High-Traffic Corridors, Lobbies, and Common Areas.
Serving Property Managers, Coop Boards, and Building Owners Nationwide.
Why Commercial Wallcoverings Outperform Paint in Multi-Family Properties
40-60% Lower Lifecycle Costs
Eliminate repainting cycles. Type II wallcoverings last 10-20 years versus 2-3 years for paint in high-traffic corridors.
Superior Scuff & Impact Resistance
20oz fabric-backed vinyl absorbs luggage hits, furniture bumps, and cart traffic without showing damage. Paint marks and scratches within months.
Detergent-Cleanable Surfaces
Scrubbable Type II wallcovering withstands commercial cleaning protocols. Paint deteriorates with repeated washing and disinfectants.
Elevated Property Appeal
Custom designs, patterns, and textures create luxury hotel aesthetics that increase property values and resident satisfaction. Paint offers only flat color.
Minimal Resident Disruption
UV-cured inks mean zero odor, zero VOC off-gassing, immediate occupancy. No paint fumes forcing residents from units for days.
Warranty-Backed Performance
Manufacturer warranties cover material performance. Paint warranties don't cover the frequent damage and wear in residential buildings.
10-Year Cost Analysis: Paint vs. Type II Wallcovering
Painted Walls
Type 2 Wallcovering
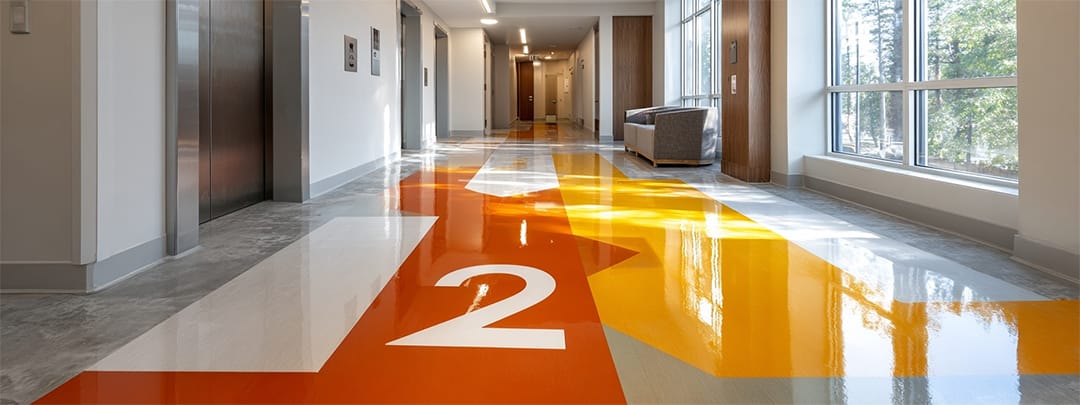
Corridor & Hallway Wallcoverings: The Overlooked Design Opportunity
Corridors represent the largest continuous wall surfaces in multi-family properties — and the highest ROI for wallcovering installation.
No furniture interference. Maximum visual impact. Consistent dimensions across floors.
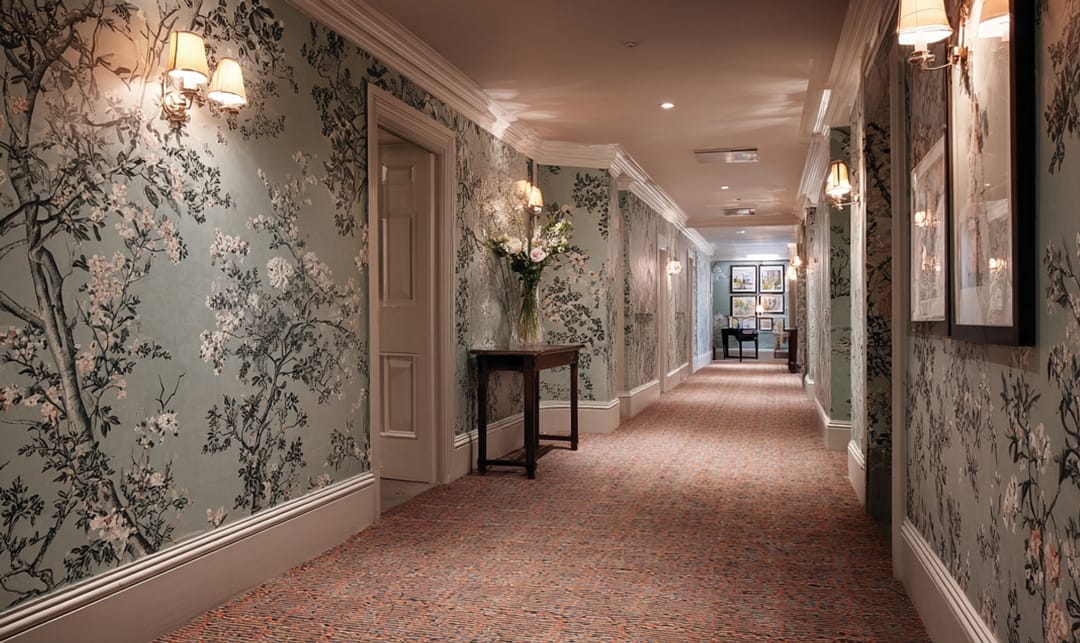

Why Corridors Deliver Maximum Property Value
Extended Dwell Time = Brand Impression
Residents and visitors spend 30-90 seconds in corridors daily. Your hallways communicate property quality every single time someone walks to their door or takes the elevator.
Continuous Canvas Without Obstacles
Unlike furnished rooms, corridors offer uninterrupted wall surfaces perfect for seamless patterns, large-scale graphics, or sophisticated textures. No furniture to work around.
Standardized Dimensions = Cost Efficiency
Typical corridor heights (8-10 feet) and consistent widths create repeatable installations. Print once, install across multiple floors with economies of scale.
Highest Traffic = Greatest ROI on Durability
Corridors suffer the most abuse: luggage, delivery carts, furniture moves, pet traffic. Type II wallcovering's superior durability eliminates the constant repainting cycle.
Corridor Applications by Property Type
Luxury High-Rise
2,500-10,000 sq ft per building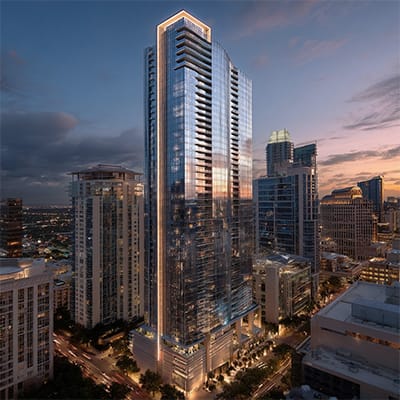
- ✔ Brand continuity
- ✔ Wayfinding by floor
- ✔ Luxury hotel aesthetics
Popular: Metallic accents, textured linens, photography murals
Mid-Rise Condo/Coop
400-3200 sq ft per building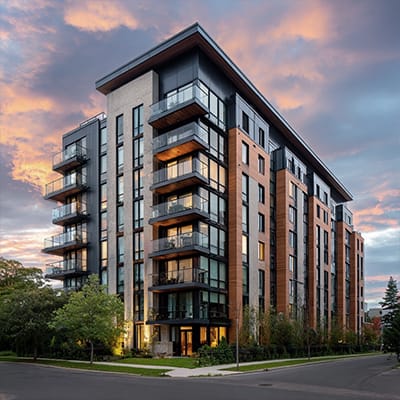
- ✔ Resident satisfaction
- ✔ Maintenance reduction
- ✔ Property value
Popular: Classic patterns, grasscloth textures, subtle geometrics
Garden Apartments
300-800 sq ft per building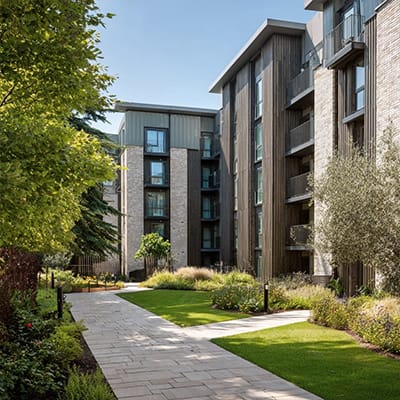
- ✔ Cost efficiency
- ✔ Durability
- ✔ Minimal disruption
Popular: Simple textures, neutral palettes, scrubbable vinyls
Student Housing
1000-5,000 sq ft per building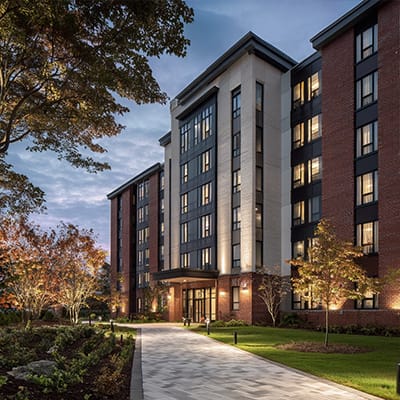
- ✔ Extreme durability
- ✔ Easy cleaning
- ✔ Youthful aesthetics
Popular: Bold graphics, school colors, antimicrobial coatings
Design Strategies That Transform Corridors
Wayfinding Integration
Embed floor numbers, directional cues, or zone colors directly into wallcovering design. Eliminate redundant signage while creating sophisticated navigation.
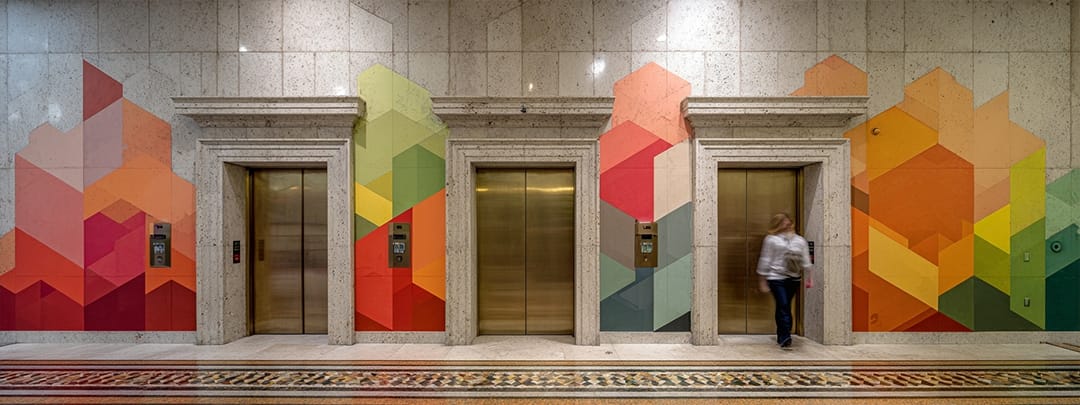
Breaking Monotony at Scale
Combat long tunnel effect with rhythm: alternating patterns every 20-30 feet, accent panels at elevator lobbies, or feature murals at dead-ends.
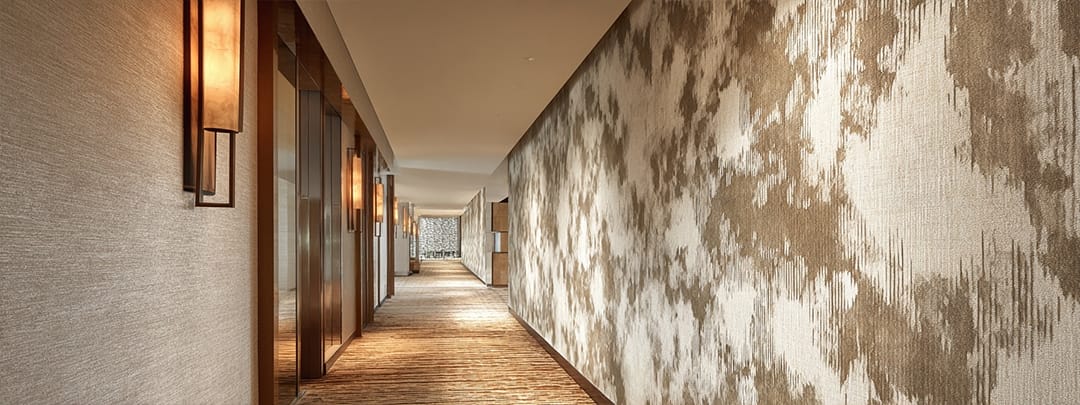
Textured Luxury Without Cost
Grasscloth, linen, suede, or canvas-textured wallcoverings deliver five-star hotel aesthetics at a fraction of actual fabric wall costs.

Floor-by-Floor Variation
Maintain brand consistency while creating subtle identity per floor. Helps residents identify their level, adds visual interest to repeat visits.
Type II Commercial Wallcovering: Engineered for Multi-Family Durability
Type II wallcovering is the industry standard for commercial residential properties.
Unlike residential wallpaper, Type II materials undergo rigorous testing for scrubbability, water & tear resistance, fire safety, and colorfastness.
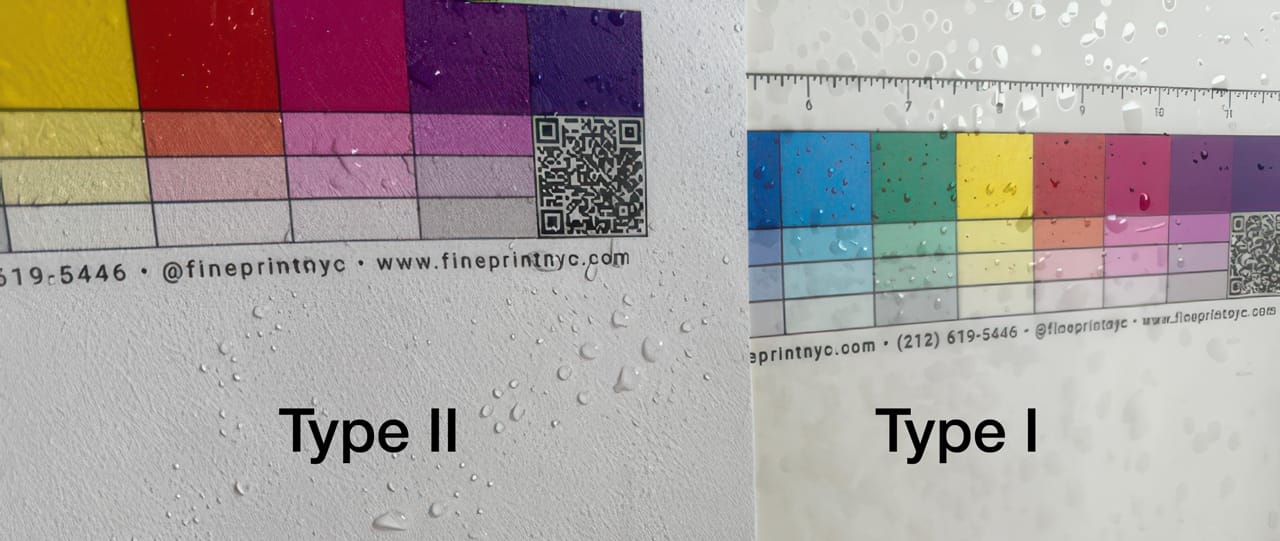
Type I vs Type II: Which Does Your Property Need?
| Feature | Type I (Light Commercial) | Type II (Heavy Commercial) |
|---|---|---|
| Weight | 12-15 oz/yard | 20-32 oz/yard |
| Backing | Paper or light fabric | Heavy fabric backing |
| Scrubbability | 100-200 cycles | 300+ cycles |
| Tear Strength | Moderate | High |
| Cost | $6-8/sqft | $8-12/sqft |
| Best For | Low-traffic resident units | Corridors, lobbies, all common areas |
| Lifespan | 5-10 years | 10-20 years |
What Makes Type II Commercial-Grade?
✔ Weight & Construction
20-32 oz per 54-inch linear yard. Fabric-backed vinyl construction provides dimensional stability and tear resistance residential papers can't match.
✔ Scrubbability Rating
Withstands 300+ scrub cycles with commercial cleaners and bleach solutions. Paint fails after 10-20 cycles. Critical for corridor maintenance.
✔ Fire Safety Compliance
Class A fire rating per ASTM E-84: flame spread ≤25, smoke development ≤450. Required by most municipal building codes for multi-family corridors.
✔ Tear & Impact Resistance
Fabric backing prevents punctures from luggage, furniture moves, and cart impacts. Self-heals minor abrasions without visible damage.
✔ Colorfastness
UV-cured inks bonded to substrate maintain vivid colors for 10-20 years without fading under fluorescent or LED corridor lighting.
✔ Standard Width
52-inch width (versus 27-inch residential) means fewer seams per corridor, faster installation, more seamless appearance.
Recommendation: Type II is always recommended for corridors, lobbies, amenity spaces, and any high-traffic common area.
Type I may be appropriate for individual resident units, but common areas demand Type II durability.
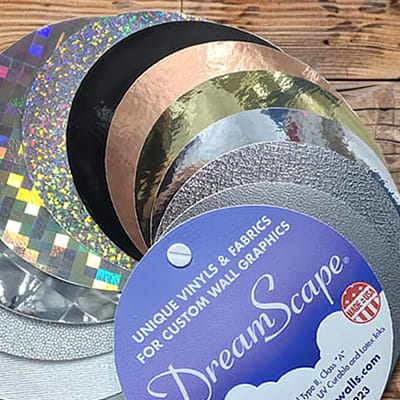
Popular Printable Wallcoverings View all 40+
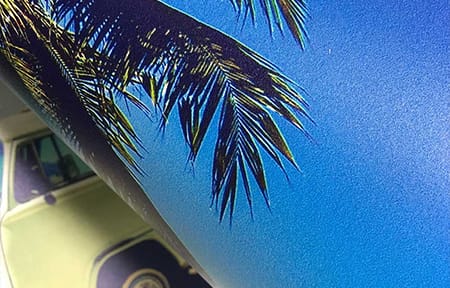 Nolar
Nolar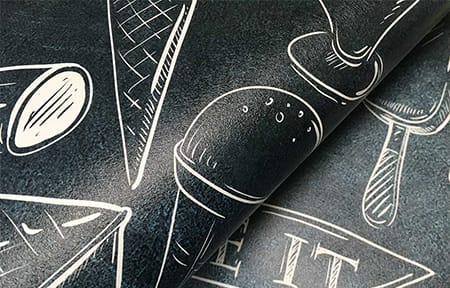 Mystical
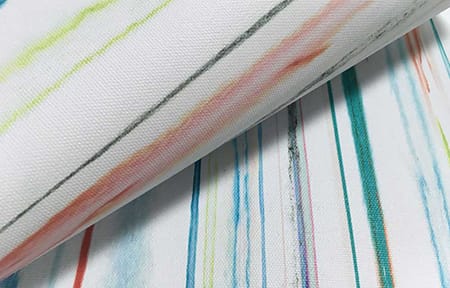 Artist Canvas
 Grasscloth
100% Certified, Safe And Commercially Viable
Enjoy the Peace of Mind that Comes With Fire Safety & Building Code Compliance
 American Society for
Testing and MaterialsPasses strict standards and tests for wallpaper materials
 Underwriters Laboratories
of CanadaTested and verified to meet rigorous safety standards
 National Fire
Protection AssociationVerifies fire, electrical, and fields of life safety
 Berkeley
AnalyticalConfirms compliance for all VOC and air standards
The Property Management Wallcovering Process
Engineered for board approvals, resident satisfaction, and maintenance efficiency.
 Step1
Step1Initial Consultation & Site Assessment
Share your building plans, photos, and measurements. We assess linear footage, identify challenges (existing millwork, resident access), and provide preliminary budgets. Board presentation materials included.
 Step2
Step2Material Selection & Board Approval Package
Choose from 40+ Type II substrates. We provide physical samples, cost comparisons vs paint, maintenance projections, and visual mockups of your corridors. Everything needed for board approval.
 Step3
Step3Design Development & Color Matching
Custom designs, patterns, or match existing building finishes. We match paint colors, coordinate with millwork, and create floor-by-floor variations if desired. Unlimited revisions until perfect.
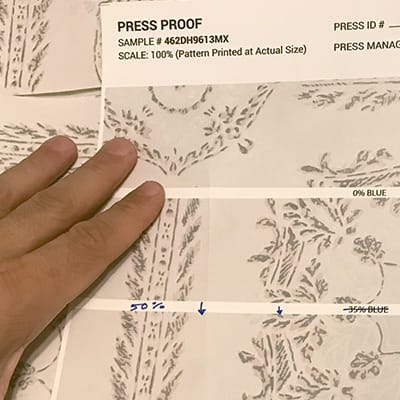 Step4
Step4Press Proofs & Final Approval
Physical samples printed on your chosen material in your colors. Test in actual corridors under your lighting. See real texture, true colors, scrubbability. Zero surprises.
 Step5
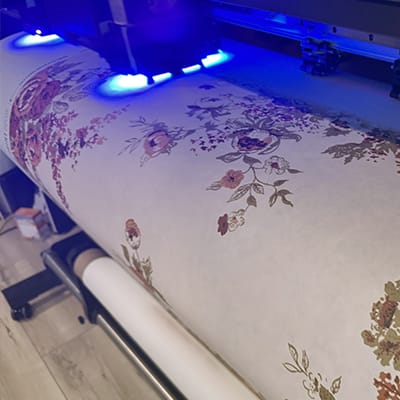
Step5Production & Delivery
We print at 1200 DPI with UV-cured inks while you coordinate resident schedules. Every roll is meticulously packed and delivered via FedEx (signature required).
 Step6
Step6Installation Support & Quality Assurance
Detailed schematics by floor, panels labeled by location, adhesive specs, contractor hotline access. Your installers have everything needed for perfect execution.
🚫 Important Note: We DO NOT offer wallpaper installation services 🚫
We focus exclusively on printing excellence and project coordination
Our Type II materials are contractor-friendly industry standard. We provide comprehensive installation support: detailed schematics, labeled panels by floor, adhesive specifications, and direct hotline access for your installers.
Custom Borders, Chair Rails & Ceiling Trim for Period Buildings
Pre-war buildings, historic properties, and architecturally distinctive coops often feature decorative millwork and trim.
Custom-printed borders offer period-appropriate elegance without carpentry costs.
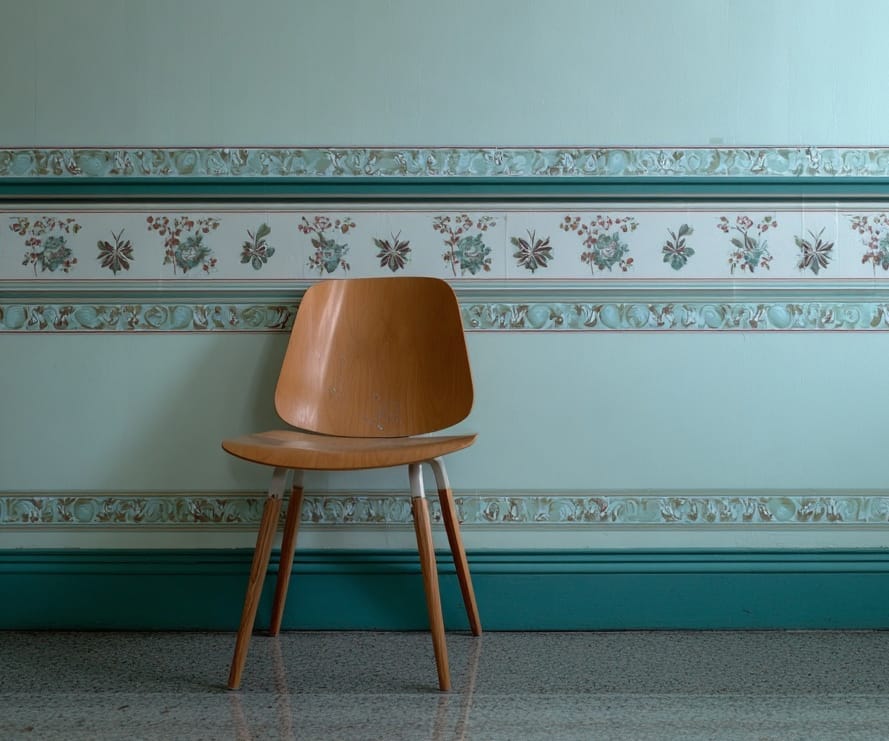
Printed Chair Rail Borders
Best For: Pre-war corridors, dining rooms in amenity spaces, historic building restoration"
Benefits:
- ✔ Period authenticity without woodwork installation costs
- ✔ Protects walls at furniture impact height
- ✔ Coordinates with existing architectural details
Design Options: Traditional raised panel looks, contemporary geometric dividers, color transitions
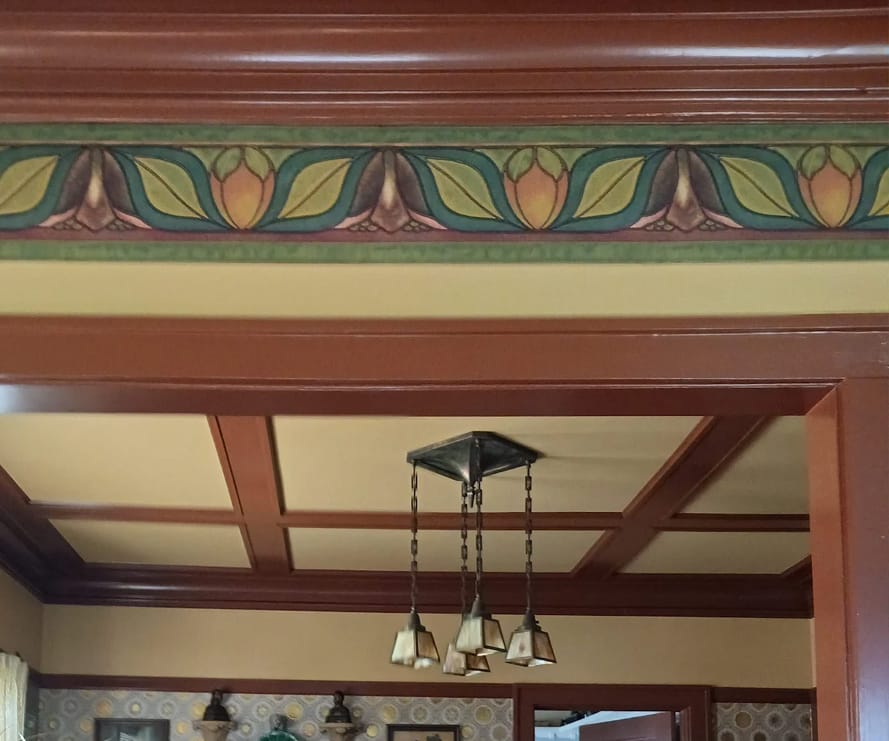
Ceiling Borders & Crown Alternatives
Best For: Lobbies, amenity spaces, luxury unit staging
Benefits:
- ✔ Visual height enhancement—makes standard 9ft ceilings feel taller
- ✔ Lightweight installation versus heavy crown molding
- ✔ Can install below existing crown for layered sophistication
Design Options: Ornate crown profiles, modern geometric bands, metallic accents
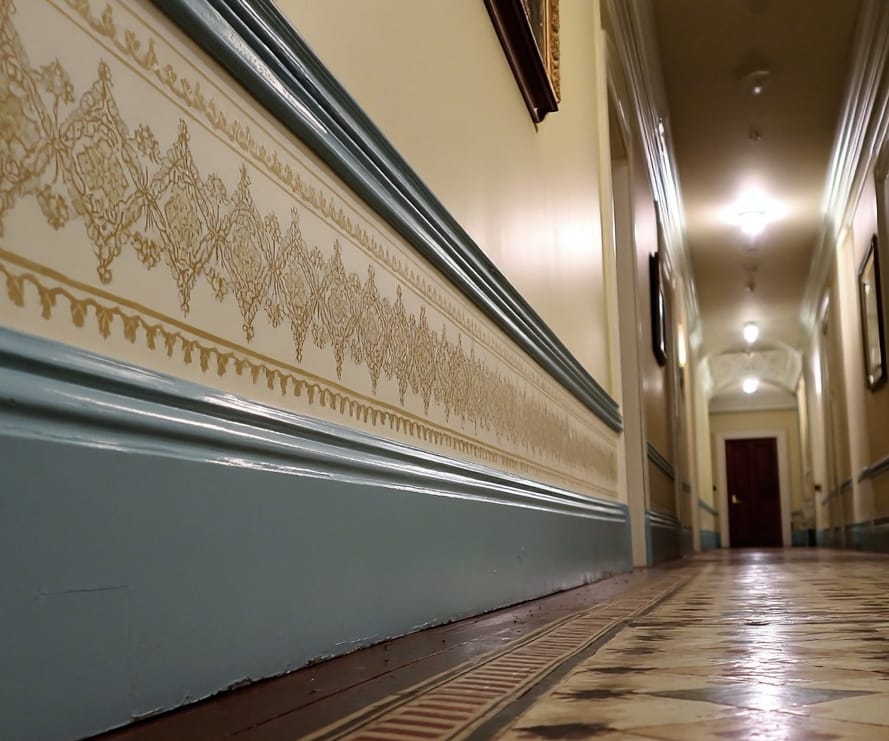
Floor-Level Baseboards
Best For: Corridor baseboard upgrades, stairwell trim, cost-effective renovation
Benefits:
- ✔ High-end baseboard appearance without carpentry
- ✔ Scuff-resistant materials handle floor-level abuse
- ✔ Easy replacement if damaged versus repainting/refinishing
Design Options: Wood grain simulation, marble patterns, solid color coordination
Why Property Managers Choose Fine Print NYC
We understand the unique challenges of multi-family property renovation:
board approvals, resident coordination, budget scrutiny, maintenance priorities. Our process is engineered for property management success.
21 Years Property Management Experience
We've completed 100+ residential building projects. We know NYC coop board requirements, condo association procurement processes, and property management priorities. We speak your language.
Board Presentation Support
Detailed proposals with ROI projections, maintenance cost comparisons, material samples, and visual mockups. Everything you need to get board or management approval on first presentation.
Resident-Friendly Scheduling
Phased installations by floor, weekend/evening options, minimal corridor closure time. Detailed resident communication templates. We minimize complaints and maximize satisfaction.
Volume Pricing & Multi-Building Discounts
Economies of scale for multiple floors, buildings, or properties. Portfolio pricing for property management companies with multiple buildings.
Complete Code Compliance Documentation
Pre-packaged submittal documents with fire ratings, VOC certs, scrubbability test results. Streamlines DOB approval, management company procurement, insurance requirements.
Contractor Coordination & Support
Detailed installation schematics, labeled panels, adhesive recommendations, direct hotline access during installation. We set your contractors up for flawless execution.
What People Say About Fine Print NYC
Real feedback from decision-makers who managed successful wallcovering projects
Ready to Transform Your Property?
Join 100+ Property Managers & Building Boards Who Trust Fine Print for Commercial-Grade Corridor Solutions
Frequently Asked Questions
What is Type II commercial wallcovering and why do I need it?
Type II wallcovering is heavy-duty (20-32oz), fabric-backed vinyl engineered for high-traffic commercial applications. It's rated for 300+ scrub cycles versus 10-20 for paint, resists tears and impacts, and meets Class A fire safety codes.
Required by most building codes for multi-family corridors, lobbies, and common areas. Type II eliminates the 2-3 year repainting cycle, saving 40-60% in lifecycle costs.
How much does corridor wallcovering cost for a typical apartment building?
Material costs range $8-15/sqft depending on substrate. Professional installation adds $6-10/sqft. A typical mid-rise building (8 floors, 2,400 linear ft of corridor) totals $45,000-70,000 installed.
However, this eliminates 15-20 years of repainting that would cost $80,000-120,000. Net savings: $35,000-50,000 over building lifecycle.
Do you offer volume discounts for multiple buildings or floors?
Yes. Volume discounts range from 8% (2,000-5,000 sqft) to 25% (10,000+ sqft). Property management companies with portfolios receive additional preferred pricing.
Multi-building contracts qualify for phased payment terms and priority scheduling.
How do I get board approval for a wallcovering project?
We provide complete board presentation packages: material samples, 10-year cost analysis comparing paint vs wallcovering, digital mockups of your corridors, technical specifications, and manufacturer warranties.
96% board approval rate on first presentation using our materials. We can attend board meetings to present if helpful.
What's the typical timeline from quote to installation?
Full process: 6-10 weeks. Breakdown: consultation (1 week), board approval materials (1 week), design development (1-2 weeks), press proofs (1 week), production (1-2 weeks), installation scheduling (varies by property).
Rush options available for time-sensitive projects. Phased installations can be scheduled around resident needs.
How do you minimize disruption to residents during installation?
Multiple strategies: floor-by-floor phased installation (one floor per day/weekend), evening/weekend scheduling, minimal corridor closure times (4-6 hours per section), zero odor from UV-cured inks (immediate occupancy).
We provide resident communication templates explaining process and timeline. Complaint rate: less than 2% of residents.
What fire and safety certifications do your materials meet?
All Type II materials meet ASTM E-84 Class A fire rating (flame spread ≤25, smoke development ≤450)—required by NYC, Chicago, LA and most metro building codes.
Additional certifications: CAN/ULC-S102 (Canada), low-VOC per CDPH V1.2 (California), scrubbability per ASTM D3659. Complete documentation included for DOB submissions.
How durable is wallcovering versus paint in high-traffic corridors?
Type II wallcovering lasts 10-20 years in corridors versus 2-3 years for paint before requiring replacement. Scrubbable surface withstands 300+ cleaning cycles, resists scuffs from luggage and carts, self-heals minor abrasions.
Real-world example: Student housing corridors with extreme traffic show zero visible wear after 18 months. Same corridors required repainting every 4-6 months before wallcovering.
Can wallcovering help increase property values or justify rent increases?
Yes. Studies show luxury common area improvements increase property valuations 8-12%. Sophisticated wallcovering in corridors and lobbies creates five-star hotel positioning that justifies 5-15% rent premiums in competitive markets.
Measurable impacts: reduced days-on-market for units, higher renewal rates, increased resident satisfaction scores, improved online reviews and ratings.
Do you coordinate with contractors or provide installation services?
We don't install but provide comprehensive contractor support: detailed floor-by-floor schematics, panels labeled by location, adhesive specifications, installation guides, and direct hotline access during installation.
Our materials are industry-standard—any qualified wallpaper contractor can install. We can recommend experienced contractors in your area if needed.
What happens if damage occurs after installation?
Type II wallcovering is repairable. Small damaged sections can be patched without redoing entire corridor. We maintain project files for 10+ years—reprint exact match material for repairs anytime.
If installed per our specifications and material fails, manufacturer warranties cover replacement. Damage from impacts/abuse is easily repaired at lower cost than repainting full corridor.
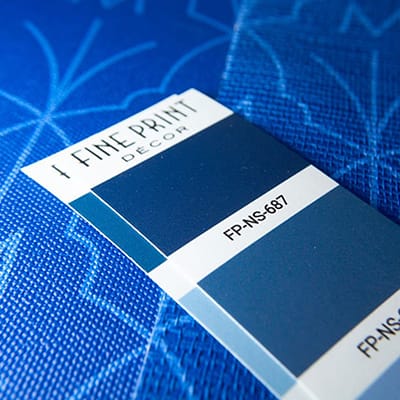
Can you match our existing paint colors or building finishes?
Yes. We use spectrophotometers to precisely match Pantone colors, Benjamin Moore, Sherwin Williams, or any paint chip. Our 20,000+ color library ensures exact coordination with existing trim, millwork, or accent colors.
Press proofs let you test color match in actual corridors under your lighting before production.
What's the difference between peel-and-stick and traditional wallcovering for properties?
Traditional Type II (fabric-backed with adhesive) is permanent, more durable, and required for high-traffic corridors. Lifespan: 10-20 years. Professional installation required.
Peel-and-stick is removable, good for model units or amenity spaces with design flexibility needs. Lifespan: 2-5 years. Can be DIY installed but less durable than Type II.
For corridors and lobbies: always specify traditional Type II.
Do you work with property management companies nationwide or only NYC?
We serve property management companies nationwide. Manhattan headquarters provides NYC market expertise, but we ship anywhere in the US.
Successfully completed projects from Boston to Miami to Los Angeles. Remote process works seamlessly: digital mockups, shipped samples, contractor coordination, and installation support all work perfectly for out-of-state properties.
Can wallcovering be used in stairwells or other challenging spaces?
Yes. Type II wallcovering is excellent for stairwells—improves lighting by reflecting rather than absorbing light, more durable than paint on high-contact walls, and easier to maintain with angled ceilings.
Also suitable for: service corridors, back-of-house areas, basement spaces, parking garage corridors, amenity spaces with complex angles.
How do you handle color consistency across multiple buildings or phases?
We maintain master files and batch all materials from same production runs to guarantee color matching. Press proofs from first building become approval standard for subsequent buildings.
For large portfolios, we can print all materials simultaneously and store until needed to ensure perfect consistency. Critical for franchise/chain properties.
 Complete Guide: Type I vs Type II Wallcovering
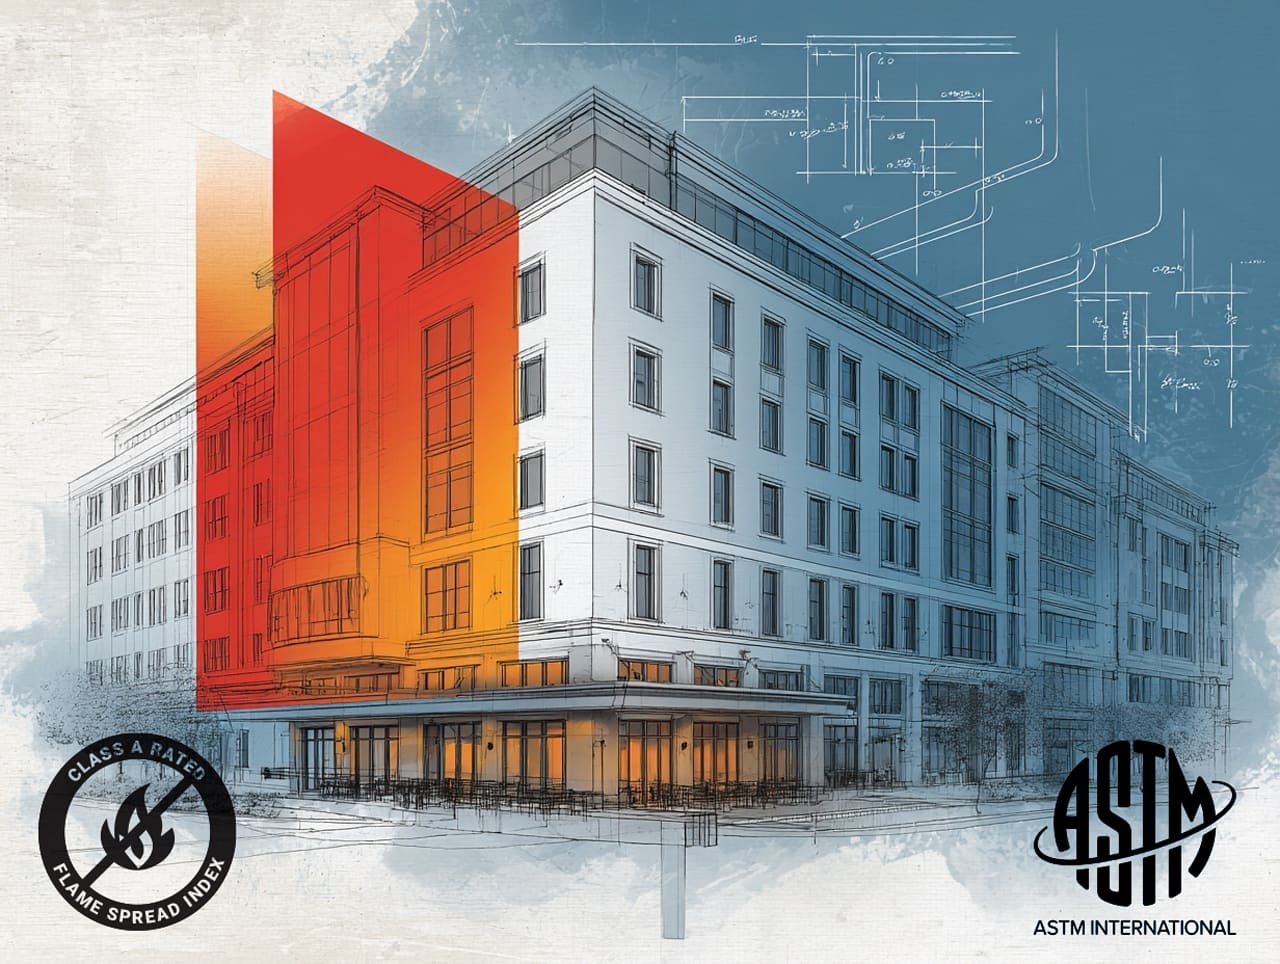 Choosing Fire-Rated Wallcovering & Building Codes
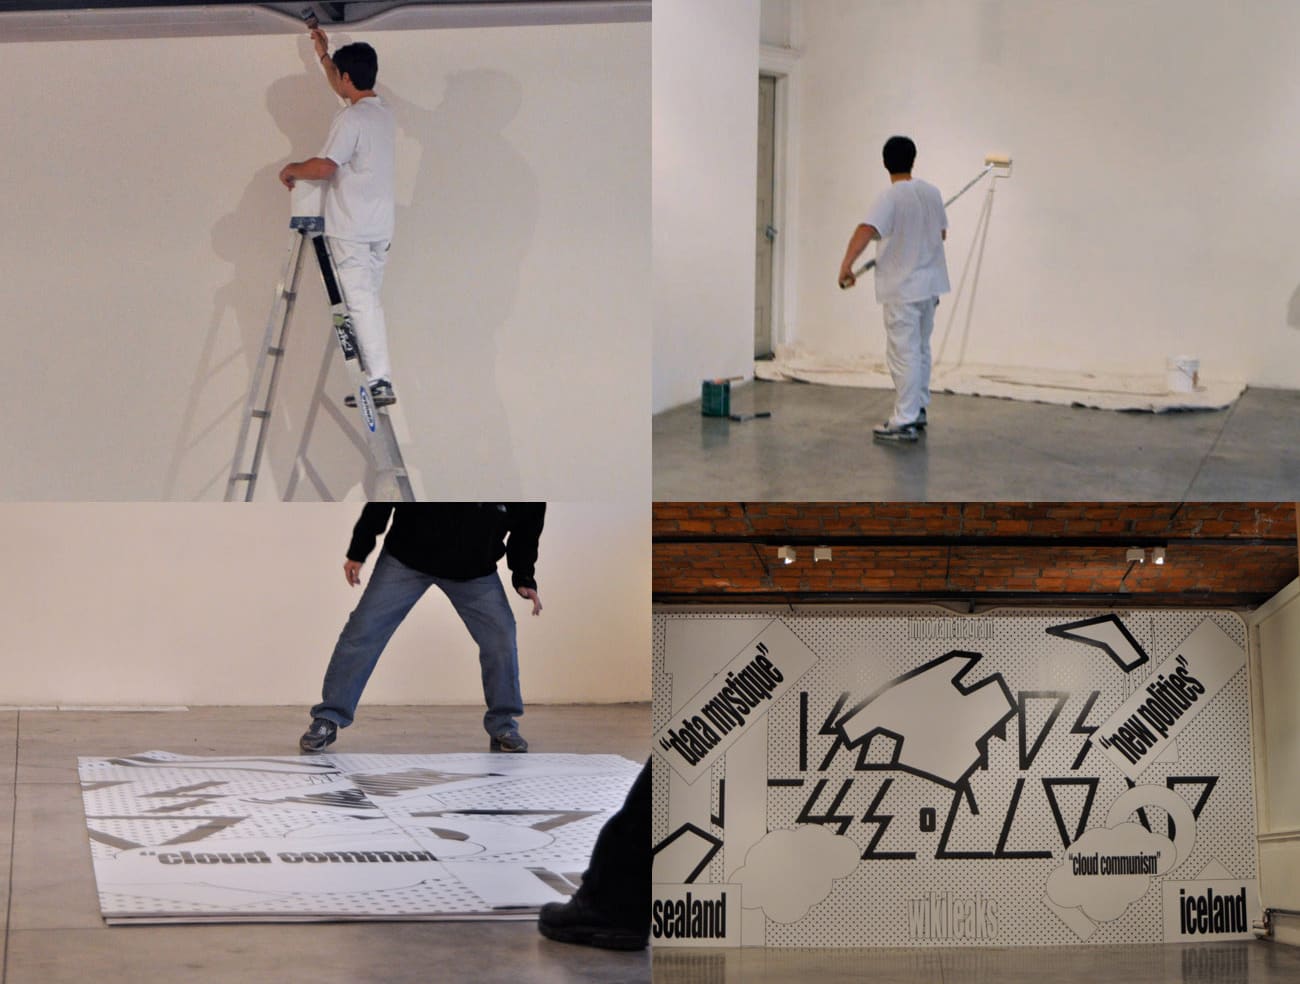 Surface Preparation for Printable Wallcoverings
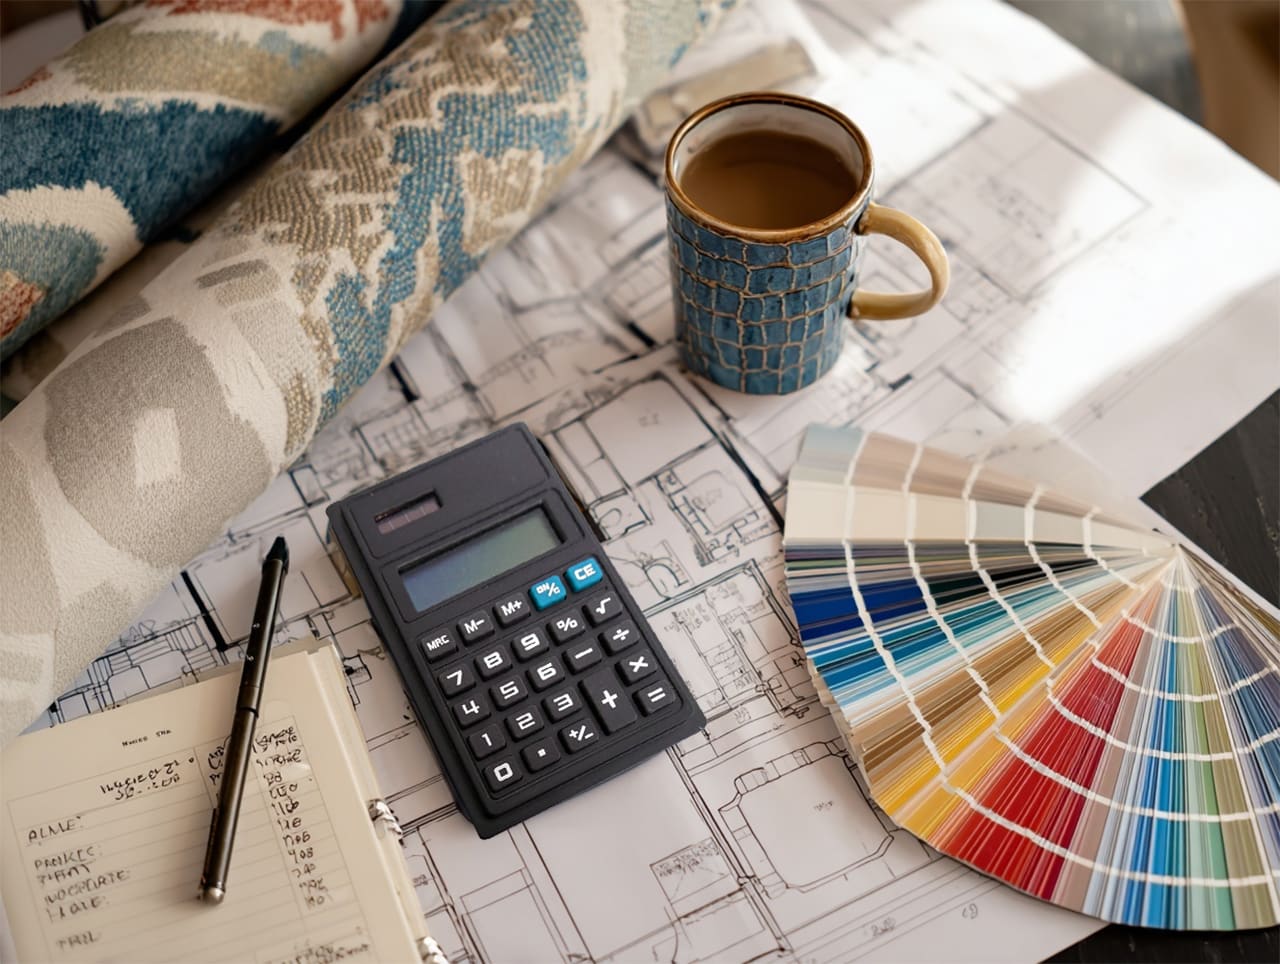 How to Get the Best Wallpaper Quotes