The Foundation of Flawless Wallpaper Installation: Surface Preparation
The journey to a impeccable wallpaper installation begins long before the first panel is placed. It starts with meticulous surface preparation, a critical yet often overlooked step. Achieving a flawless finish requires surfaces that are clean, dry, smooth, and non-porous. Neglecting this foundational stage can lead to poor adhesion and ultimately, product failure. Common culprits of such disappointments include:
- Highly textured paint that creates an uneven base
- Moisture lurking behind drywall, threatening adhesion
- Dust and contaminants acting as barriers between the wall and wallpaper
- Poorly painted wall edges that lead to uneven finishes and curling edges
- Freshly painted surfaces that haven’t fully cured
- Patchy or uneven primer application that compromises the wallpaper’s grip
Expert Tip: Mastering wallpaper installation is an art refined over years of practice. For those seeking perfection, enlisting a professional wallpaper installer is highly recommended. Their expertise ensures that every detail, from surface preparation to the final application, is executed with precision.
Ensuring Optimal Conditions
Humidity Checks: The First Step
One of the initial checks in the preparation process involves assessing the wall’s humidity level. Ideal conditions dictate that walls should not exhibit more than 4% residual humidity, a measure easily determined with a reliable moisture meter.
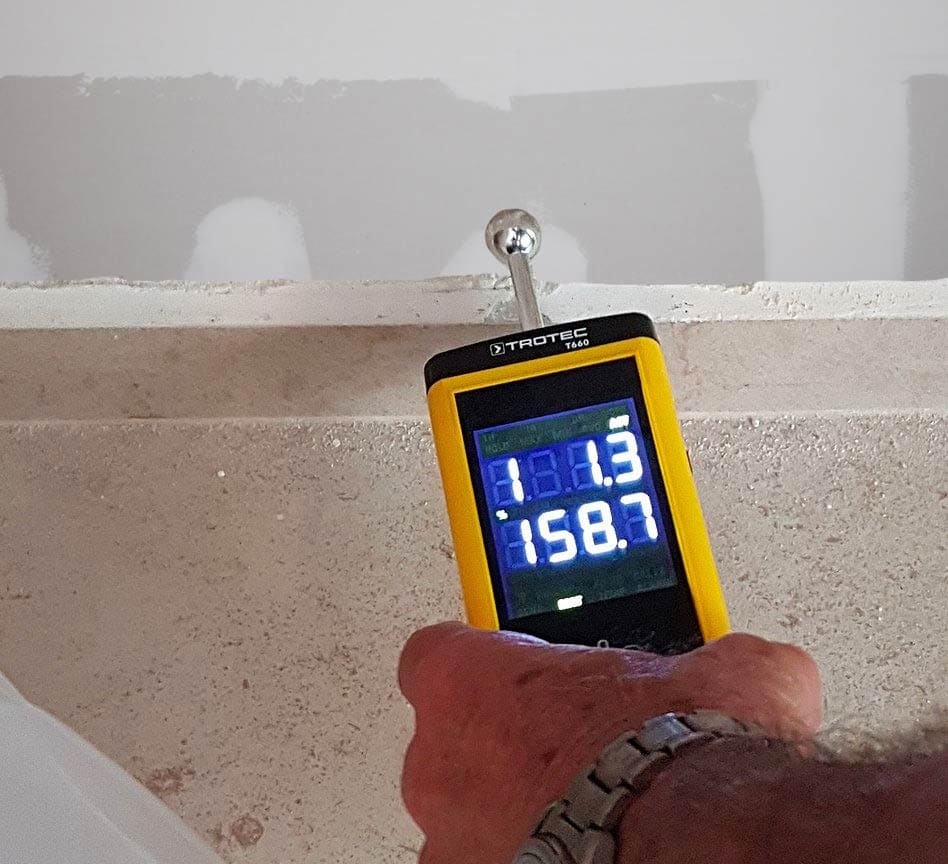
Should you discover moisture, it’s imperative to identify and rectify the source promptly. A dry surface is foundational to ensuring your wallpaper not only adheres properly but remains pristine over time. You will want to eliminate any leaks, burst pipes or other sources of excess moisture that can compromise your wallpaper.
Health and Safety Note: Prior to installation, it’s crucial to address any signs of mold or mildew. These not only jeopardize the wallpaper’s adhesion but also pose significant health risks. Ensuring a clean, healthy environment is paramount for a successful installation.
Achieving a Smooth and Even Surface
The goal is to ensure your walls are as smooth and defect-free as possible. Imperfections such as blemishes, cracks, holes, or peeling paint must be meticulously treated. Employ putty or spackling for repairs, followed by sanding with 120-grit sandpaper to achieve a uniform finish. The adage “your wallpaper is only as good as the surface beneath it” holds true, underscoring the importance of this step.
Final Touches Before Priming: Once satisfied with the surface’s smoothness and dryness, a thorough wipe-down with a micro-fiber dust cloth is essential. This step ensures the removal of any lingering dust particles, creating the ideal canvas for primer application.
Final Steps Before Priming
The following are a few more quality control measures that are easy to miss unless you have experience installing wallpaper:
- Wall Texture: For walls with existing texture, consider skimming with a thin layer of joint compound. This creates a smooth surface, essential for detailed or delicate wallpaper patterns.
- Color Considerations: Lightly colored or translucent wallpapers may require a white or neutral base coat to prevent underlying colors or patterns from showing through.
- Primer Selection: Choose a primer specifically designed for wallpaper applications. This ensures optimal adhesion and ease of future wallpaper removal without damaging the wall.
By adhering to these guidelines, you lay the groundwork for a wallpaper installation that is not only visually stunning but enduring. Remember, the beauty of your wallpaper is greatly enhanced by the quality of the surface preparation. Take the time, pay attention to detail, and consider professional assistance to achieve the best possible outcome.
Stabilizing Wall Temperatures for Wallpaper Success
Maintaining a consistent temperature across your wall surfaces is crucial for the longevity and appearance of your wallpaper. Variations in temperature, particularly from water pipes, heating systems, or direct sunlight, can lead to undesirable effects such as warping, buckling, or sagging of the wallpaper material.
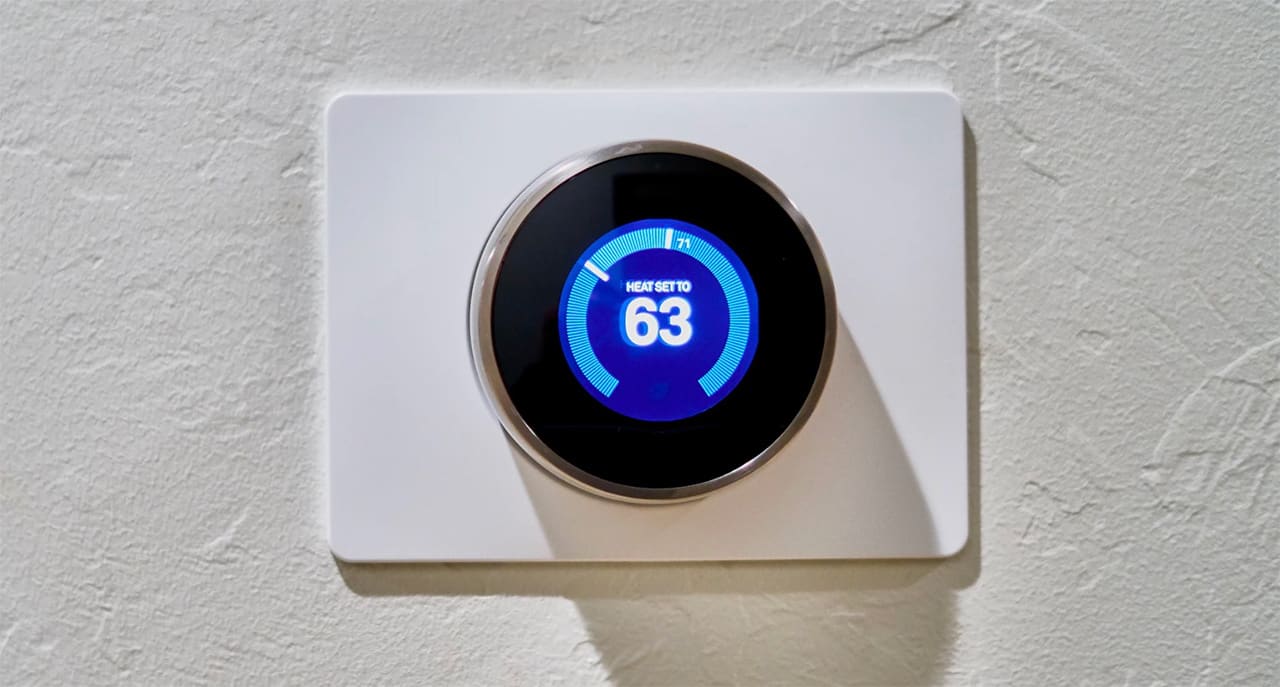
Walls that conceal heating elements or are exposed to prolonged sunlight should be insulated to mitigate these temperature fluctuations. While the specifics of wall construction and insulation fall beyond this guide’s scope, addressing these factors is essential for a stable environment conducive to wallpaper application. Surfaces with unregulated temperature changes, especially those with embedded HVAC systems lacking proper insulation, are less than ideal for wallpaper, potentially compromising its durability.
The Pitfalls of Overlooked Surfaces: Existing Coverings and Dark Paints
Removing Old Wall Coverings
Wallpaper’s adhesion and overall finish are best on clean, bare walls. Thus, removing any existing wallpaper or adhesives is a prerequisite for a smooth installation. Opt for DIF liquid or gel for an efficient, eco-friendly way to dissolve old adhesives without harsh chemicals.
Pro Tip: Ensure that any previously applied wall graphics have been in place for at least 21 days to allow the adhesive to cure fully. Attempting to remove uncured adhesives can lead to a challenging and messy process.
Navigating the Challenges of Dark Paints
Applying wallpaper over dark or heavily tinted paints poses its own set of challenges. Such paints, especially those with more than 1 ounce of tint per gallon, require extended curing times. Moreover, the deep hues can bleed through the wallpaper, affecting the visual integrity of your design.
 Even with a thorough primer application, the shadow of the underlying color can compromise the wallpaper’s appearance. In these instances, applying two coats of white latex paint before priming is advisable.
Mastering the Art of Primer Application
The application of wall primer is a pivotal step in the wallpaper installation process, setting the stage for a flawless finish. Achieving the perfect primer coat requires a balance of technique and patience. Begin by rolling the primer onto the surface with vertical, parallel strokes, applying consistent pressure to ensure even saturation without causing drips or excessive overlap. This meticulous approach ensures the primer is applied evenly across the wall, creating a uniform base for your wallpaper.
Expert Advice: The optimal conditions for primer application are within a humidity range of 0% to 85% and a temperature span of 50 to 90°F. These conditions help the primer dry evenly without delay. For the best results, utilize a 3/8” roller cover. This specific size helps minimize stippling, promoting a smoother texture that enhances wallpaper adhesion.
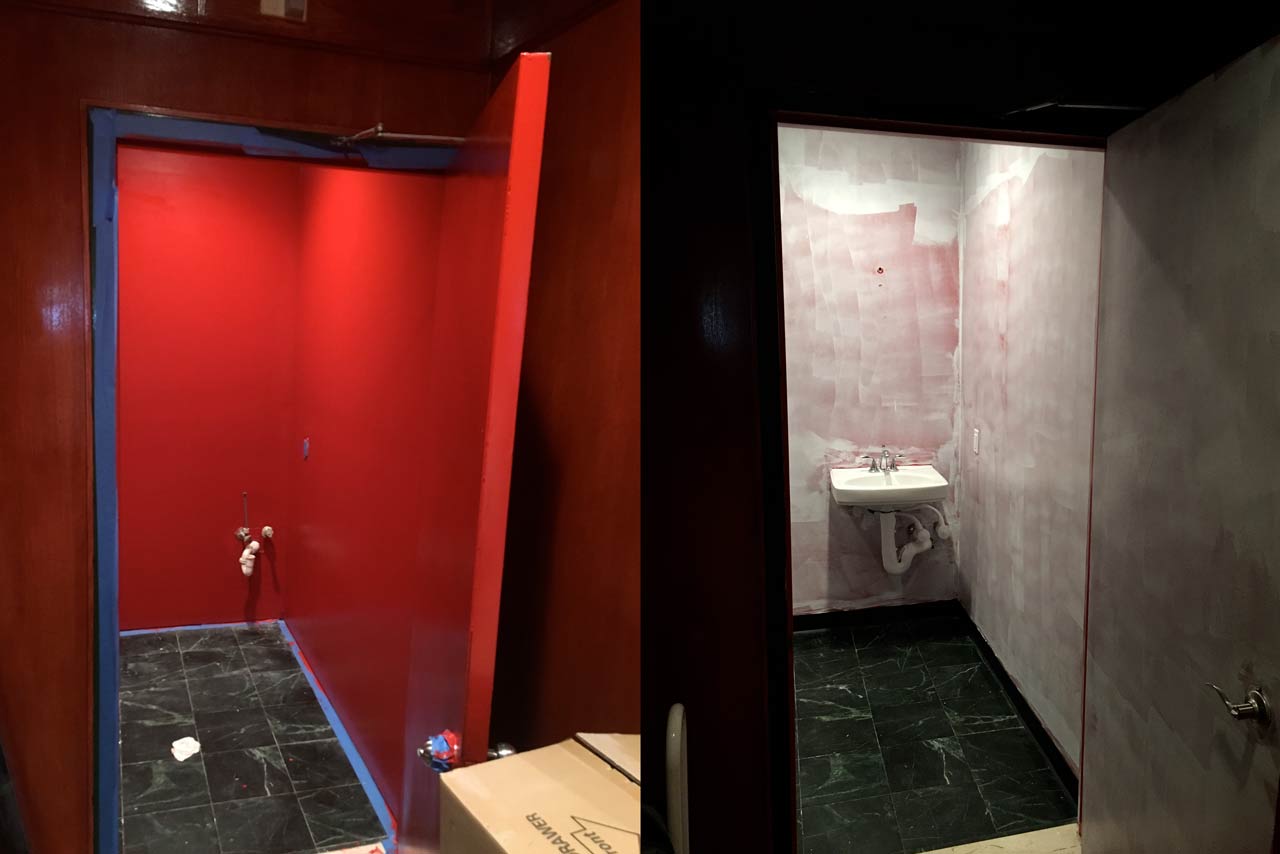
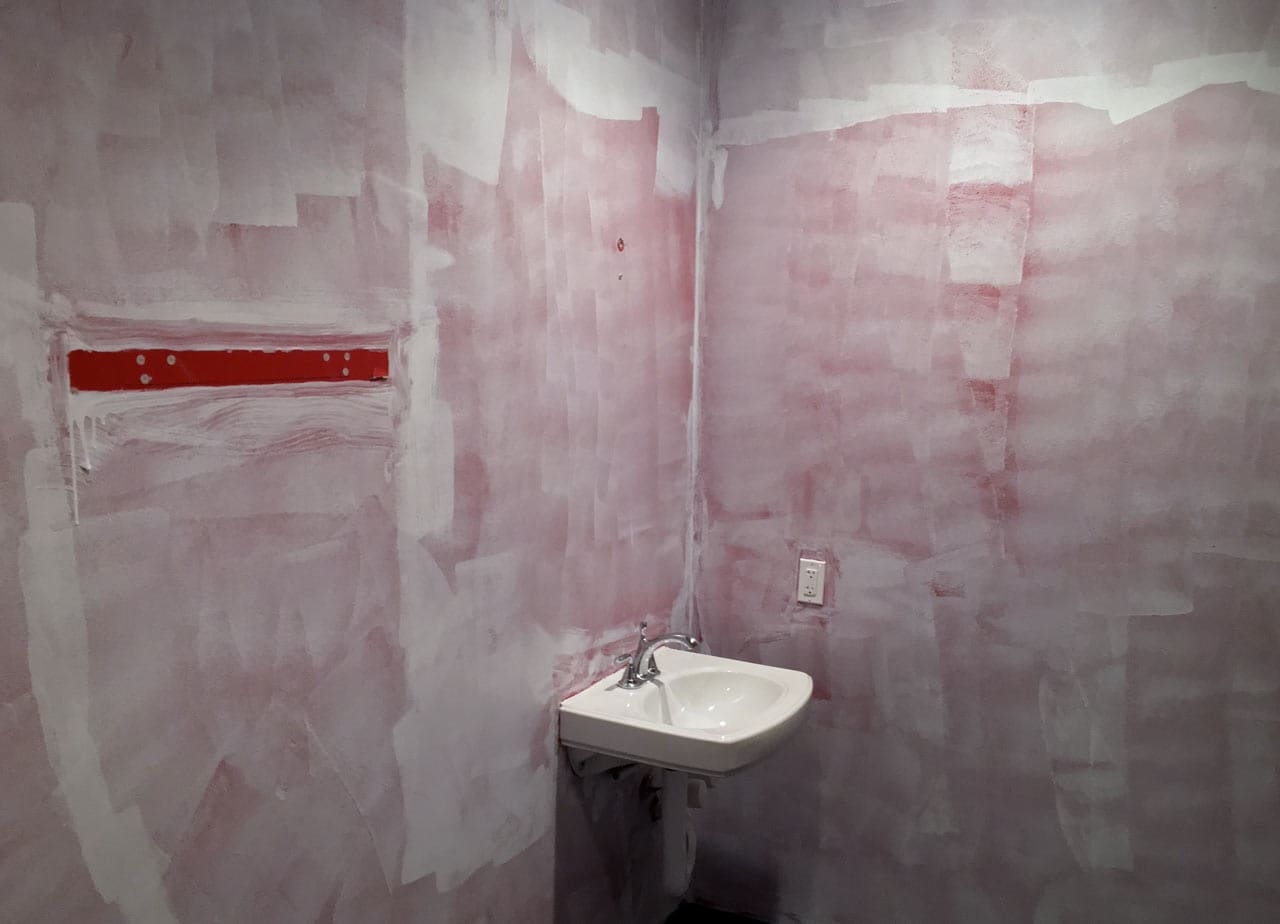 Example of improper primer application. Avoid rushing to prevent future adhesion issues.
The Crucial Primer Curing Phase
After laying down the primer, a crucial waiting period follows. Water-based primers, known for their ease of use and environmental friendliness, require a drying time of 24-48 hours. During this interval, ensure the room is well-ventilated and maintains a low humidity level to facilitate proper curing. This patience pays off, preventing the common pitfalls of wallpaper bubbling and distortion that occur when the primer hasn’t fully set.
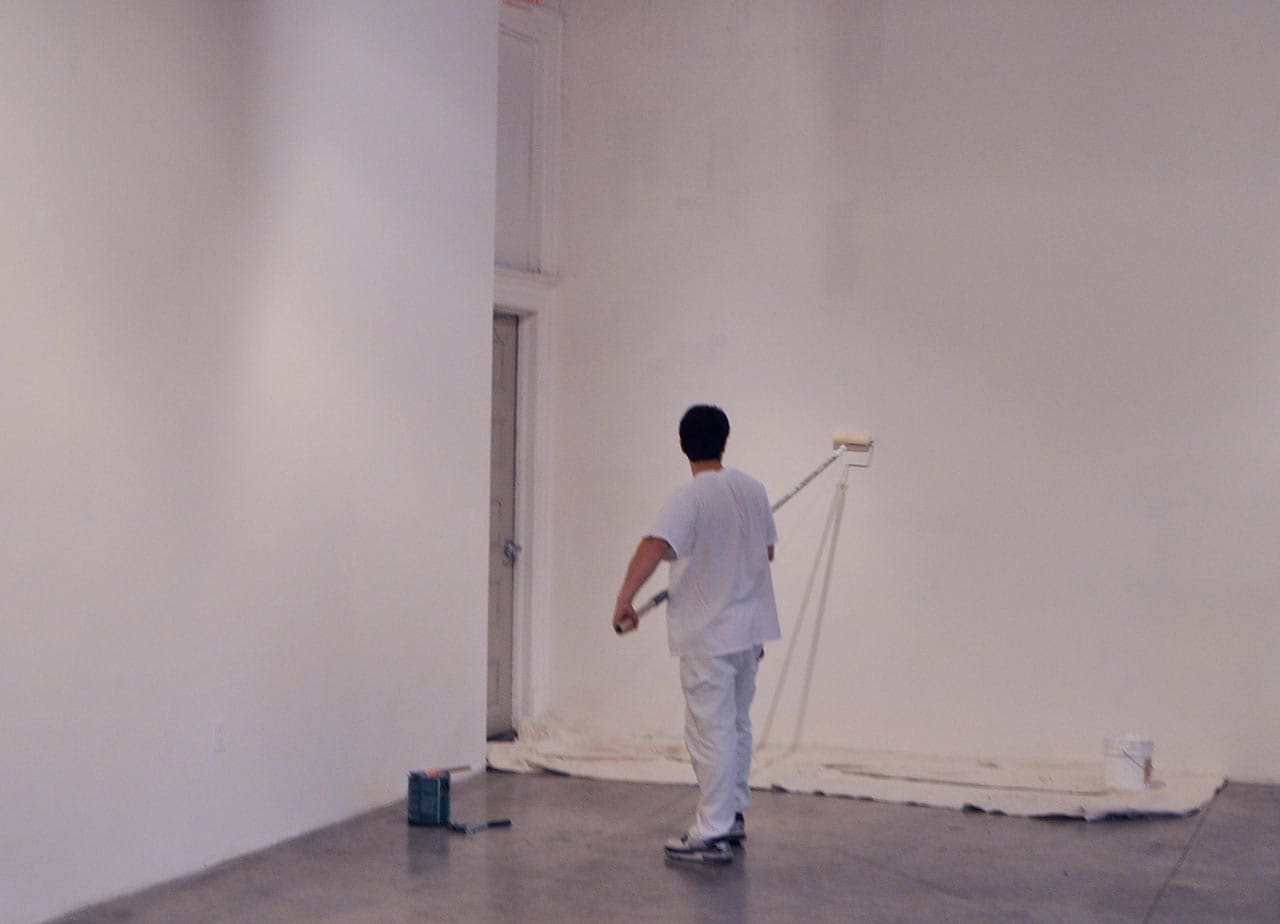 Professional primer application in progress, ensuring a durable foundation for wallpaper installation.
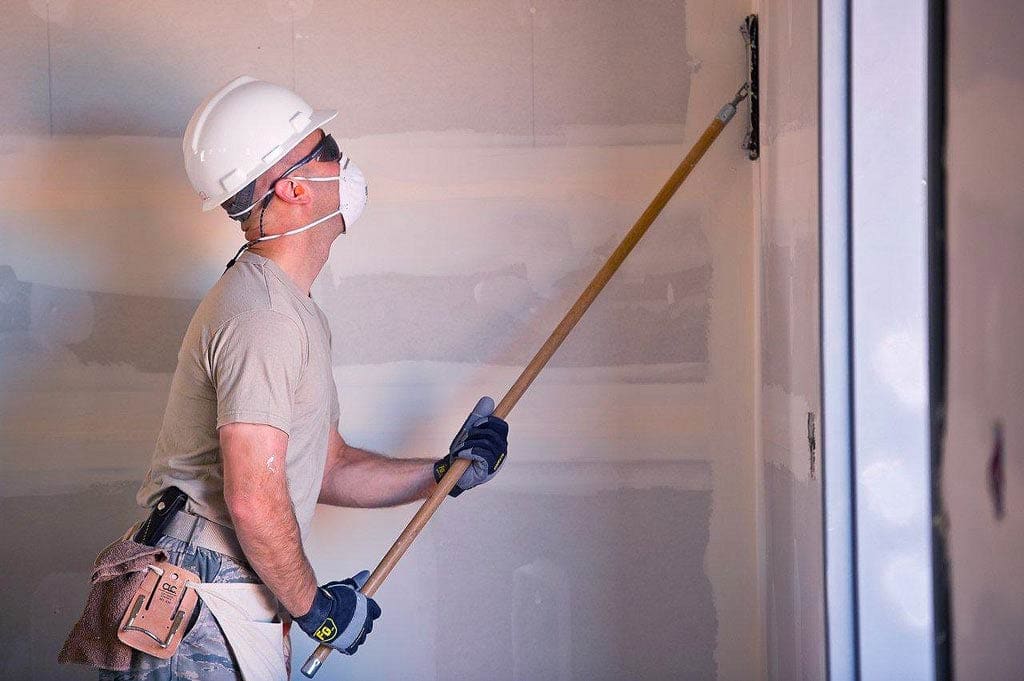
A Closer Look at Corners and Edges
Special attention to corners and edges cannot be overstated. These areas, prone to peeling and curling, demand careful primer and sealer application. Moreover, corners often harbor dust which can compromise the wallpaper’s adhesion. Ensuring these critical areas are thoroughly covered and protected is key to maintaining the integrity of your wallpaper over time.
Additional Insights for a Perfect Primer Application
- Layering Techniques: Consider a second coat of primer in rooms with high sunlight exposure or moisture levels for added protection.
- Tool Selection: Beyond the roller, use angled brushes for precise application around trim and in tight corners, ensuring no spot is left unprimed.
- Environmental Considerations: Opt for low-VOC or VOC-free primers to maintain indoor air quality, aligning with eco-friendly practices without compromising on quality.
By embracing these detailed steps and considerations, you ensure that your wall is impeccably prepared for wallpaper installation, laying the groundwork for a stunning transformation of your space.
Choosing the Best Adhesive
Selecting the right adhesive is as crucial as the preparation of your walls. The choice of glue can significantly impact the ease of application, durability, and overall look of your wallpaper. With a myriad of options available, understanding the nuances of each type is key to a successful installation.
Wallpaper adhesives vary in composition and are designed to cater to different types of wallpaper and application environments. Here’s a brief overview to guide you in making an informed decision:
- Clear Adhesives: Ideal for delicate wallpapers such as those with intricate designs or transparent elements. Clear adhesives ensure that no residue mars the beauty of your wallpaper.
- Heavy-Duty Adhesives: Recommended for heavyweight wallpapers, including vinyl and textured varieties. These adhesives offer a stronger bond to accommodate the additional weight and ensure long-term adherence.
- Paste-the-Wall Adhesives: A modern innovation that simplifies the wallpapering process. The adhesive is applied directly to the wall, reducing mess and allowing for easier adjustments during application.
- Eco-Friendly Adhesives: For those conscious of environmental impact, eco-friendly adhesives are formulated to be low-VOC or VOC-free, providing a safer option for your home without compromising on performance.
For detailed recommendations and insights into the best adhesives for your specific wallpaper type, refer to our comprehensive guide on Recommended Wallpaper Adhesives.
Application Tips
- Always test your adhesive on a small section of wallpaper to ensure compatibility, especially for specialty wallpapers.
- Consider the room’s humidity and temperature, as these can affect the adhesive’s drying time and bond strength.
- For wallpapers that require mixing the adhesive, follow the manufacturer’s instructions closely to achieve the correct consistency.
Choosing the right adhesive and applying it correctly are pivotal steps that influence the final appearance and longevity of your wallpaper. By selecting an adhesive that aligns with your wallpaper’s material and the room’s conditions, you ensure a smooth, durable installation that will delight for years to come.
Enhancing Durability with Wall Primer/Sealer
The application of a high-quality sealer is a critical step in wallpaper preparation, serving a dual purpose: it prevents moisture penetration and solidifies the adhesive bond established by the primer. For optimal protection, professional installers advocate for the application of two sealer coats, ensuring the first has dried to the touch before proceeding with the second.
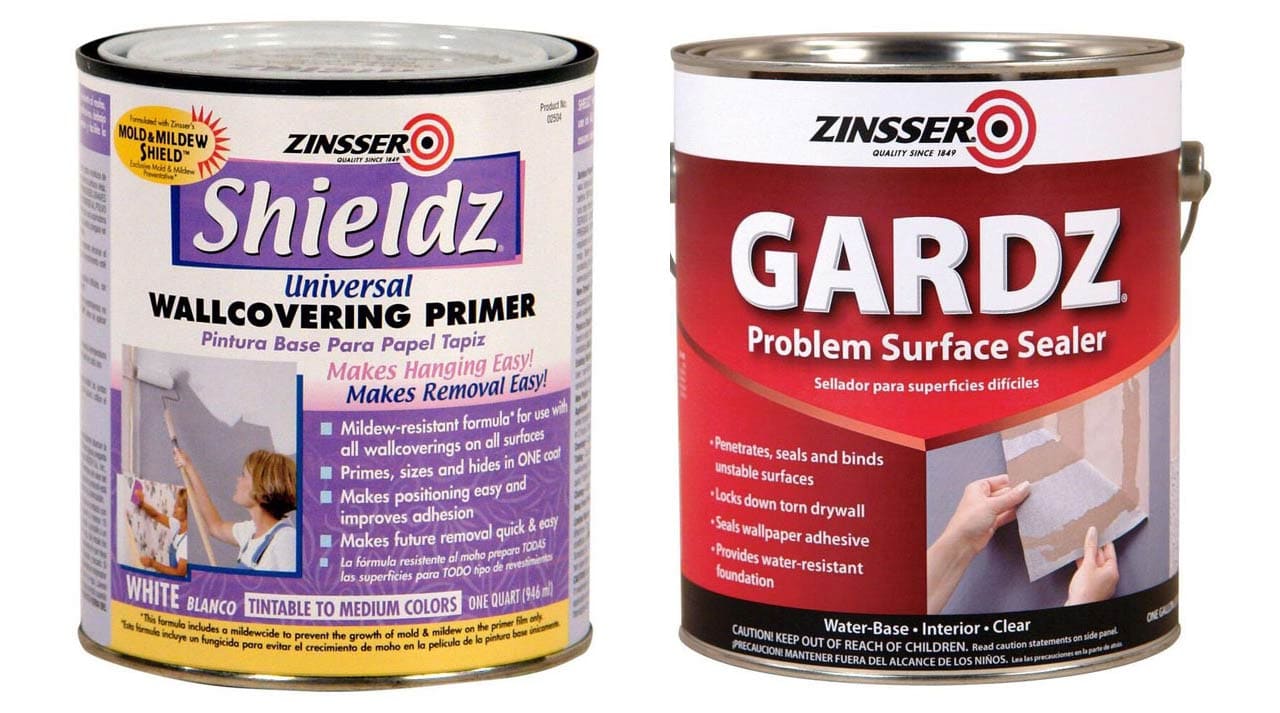
To streamline the cleaning process and accelerate curing times, the use of water-based products is advised. Brands like Kilz and Zinsser are renowned for their effective primers and sealers, offering solutions that cater to these needs.
Pro Tip: While some products offer a convenient 2-in-1 primer and sealer combination, achieving the ultimate durability and adhesion often requires the application of three distinct coats—primer followed by two sealer layers. This methodical approach significantly enhances the wallpaper’s longevity.
The Importance of Wallpaper Acclimation
Allowing printed wallpaper to properly dry and acclimate is paramount to prevent common issues like warping or corner curling. A minimum of 48 hours is recommended for the material to fully cure, ensuring all ink solvents have evaporated.
Prior to installation, unroll and lay the wallpaper flat, allowing it to adjust to room temperature for at least two hours. This acclimation step is crucial for a seamless application and enduring result.
Crafting Lasting Beauty: Conclusion
While preparing walls for wallpaper may seem straightforward, the distinction between a good and a great installation lies in the meticulousness of the preparation process. A wall that has been diligently primed and sealed provides the perfect canvas for wallpaper, promising years of beauty with minimal upkeep.
Embracing these preparation steps with the attention and precision they merit ensures that your wallpaper not only enhances the aesthetic appeal of your space but also stands the test of time. Remember, the secret to enduring wall coverings lies not just in the quality of the wallpaper but in the foundation it’s built upon.
About the Author

Joseph Gornail is a multimedia artist and fourth-generation print craftsman whose family has lived on the same block in SoHo for over 90 years. With an extensive background in photography, writing and creative direction, Joseph has a love of the arts and a proud New Yorker. When he’s not documenting city life or curating historic images for History101.nyc, he can likely be found sailing the New York harbor to enjoy his native city from a different perspective.